During this pandemic, many of us are doing our best to stay home, stay healthy and flatten the curve. So even as businesses reopen, we may try to figure out our beauty regimens from home as best as we can.
While DIY manicures and pedicures are one thing, an at-home facial calls for a little more caution. That’s because a truly effective home facial can require several steps and involves more than just slapping on a sheet mask. When done right, it can leave your skin feeling clean and looking radiant. But if you over-exfoliate or use the wrong kinds of products, you can wind up with unfortunate damage.
The potential benefits? Home facials can result in a clearer, smoother looking face, a brighter tone or softer skin.
Editor’s note: Before using any new skincare product, you may want to do a patch test on your skin, especially if you have sensitive skin or are prone to allergies. You can try the product in a small, discreet area, and wait at least 24 hours to see if you have problematic reactions, like redness or irritation. If you do have a reaction, don’t proceed. And if you have sensitive skin, or skincare questions, consider consulting your dermatologist or health care provider.
Here are some tips to consider for home facial treatments using grocery store ingredients.
Follow a routine. If you have access to skincare products, would you really do a facial with kitchen ingredients? One skincare source, New York-based dermatologist Michelle Henry, says absolutely. But she follows certain steps. “I often start out with a gentle cleanser and exfoliating toner followed by a hydrating mask,” explains Henry, who is Harvard-trained, board-certified and specializes in skin of color. So, when doing an at-home facial, begin with a clean base. Cleansing, and even using a non-irritating toner, if you’d like, can prep your skin for a facial mask. When you’re done, dispose of leftover products.
Wondering how often to do a DIY mask? This can depend on the type of mask and its ingredients. Consider doing some research to find the exact recipe and frequency that works for you.
Say hello to a honey mask. “I am a huge fan of honey — it has well documented wound healing properties. It’s a natural exfoliant, a great humectant and can soothe skin and potentially calm acne blemishes,” notes Henry. Make sure you’re using 100 percent real honey, as some low-cost varieties use synthetic ingredients. Henry also appreciates yogurt. “I love yogurt and honey masks. I have super dry skin and this combination is incredibly hydrating and soothing. Yogurt is a fantastic base as it is hydrating and safe for even the most sensitive skin types. The probiotics are also great for inflamed skin types,” she explains.
Include produce in your homemade mask. “Papaya is a great, natural, gentle exfoliant to help [with] brightening the skin. I recommend [it] for those suffering from hyperpigmentation,” notes Henry. “I also love bananas as they contain vitamin A, which may help fight blemishes. Phenolics in bananas may also contain antimicrobials to treat acne lesions. Avocado is also fantastic for hydration of both the skin and hair as it contains rich omega fatty acids,” she adds. You can blend, puree or mash your produce item of choice into a bowl and apply it to your face for up to 10 minutes, or mix in a generous dollop of plain yogurt or a drizzle of honey[WL(1] for additional hydration.
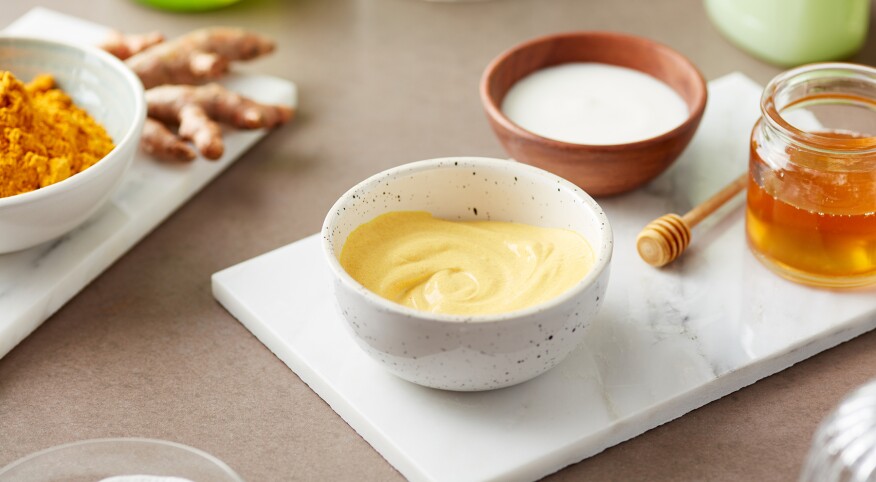
Consider trying turmeric. “I love turmeric — it helps to brighten the skin. Turmeric contains the antioxidant curcumin, which is anti-inflammatory and can lighten pigmentation. Just remember it can temporarily leave a yellow/orange cast on the skin,” Henry explains. “Turmeric is also antimicrobial and may also treat and prevent bacteria in the skin that can otherwise contribute to acne cysts and staph infections.” Those attributes can make turmeric helpful in treating acne-prone skin. In my personal experience, turmeric is best used sparingly and for a brief period (think 10 minutes or less) to avoid staining. Mix a teaspoon of this spice into a plain yogurt- or avocado-based mask and wash it off well afterwards.
Avoid harsh ingredients. Some online DIY skincare recipes can call for ingredients that are too harsh for direct use on the skin, especially for skin prone to hyperpigmentation. “Avoid undiluted apple cider vinegar and [undiluted] tea tree oil because they can cause skin irritation. Also, avoid citrus as the combination of citrus and sun exposure can cause phytophotodermatitis, a rash that leaves behind significant hyperpigmentation,” she notes.
Be careful with exfoliation. Exfoliation is the process of removing dead skin cells from the outer layer of your skin, and it’s important to do it safely, advises the American Academy of Dermatology. Harsh scrubs and physical exfoliation with scratchy brushes or scrubbing pads can lead to micro-tears and skin damage. For safe, home exfoliation on your face, Henry advises sticking with gentle chemical exfoliants like lactic acid or mandelic acid to avoid chemical burns or irritation.
By the way, if you want to try occasional physical exfoliation on other parts of your body, Henry still recommends caution with rough scrubs. “Try to use gentle physical exfoliants,” she notes, suggesting sugar instead of salt because “sugar has round edges and salt has sharp, harsh edges.” I have personally used gentle DIY scrubs with brown sugar and olive oil for areas like my elbows and knees; sugar scrubs made with olive oil and essential oil or essences can be stored for weeks if kept in a cool, dry place.

Stocksy


